Congratulations! You’re a homeowner; now it’s time to figure out exactly how you’re supposed to care for your house. Becoming a homeowner may be a bigger task than you realize it is.
All too often, owning a home doesn’t come with a directions manual. You’re left to figure out the tiny details of it all on your own. One of those is the importance of cleaning gutters on your home.
Cleaning the gutters is one of the most important aspects of keeping up your home. If you want to keep your house in the best shape possible we have some information about gutters to share with you. Here are your hints and tips for taking care of that gutter maintenance.
How Often Do Gutters Need to Be Clean
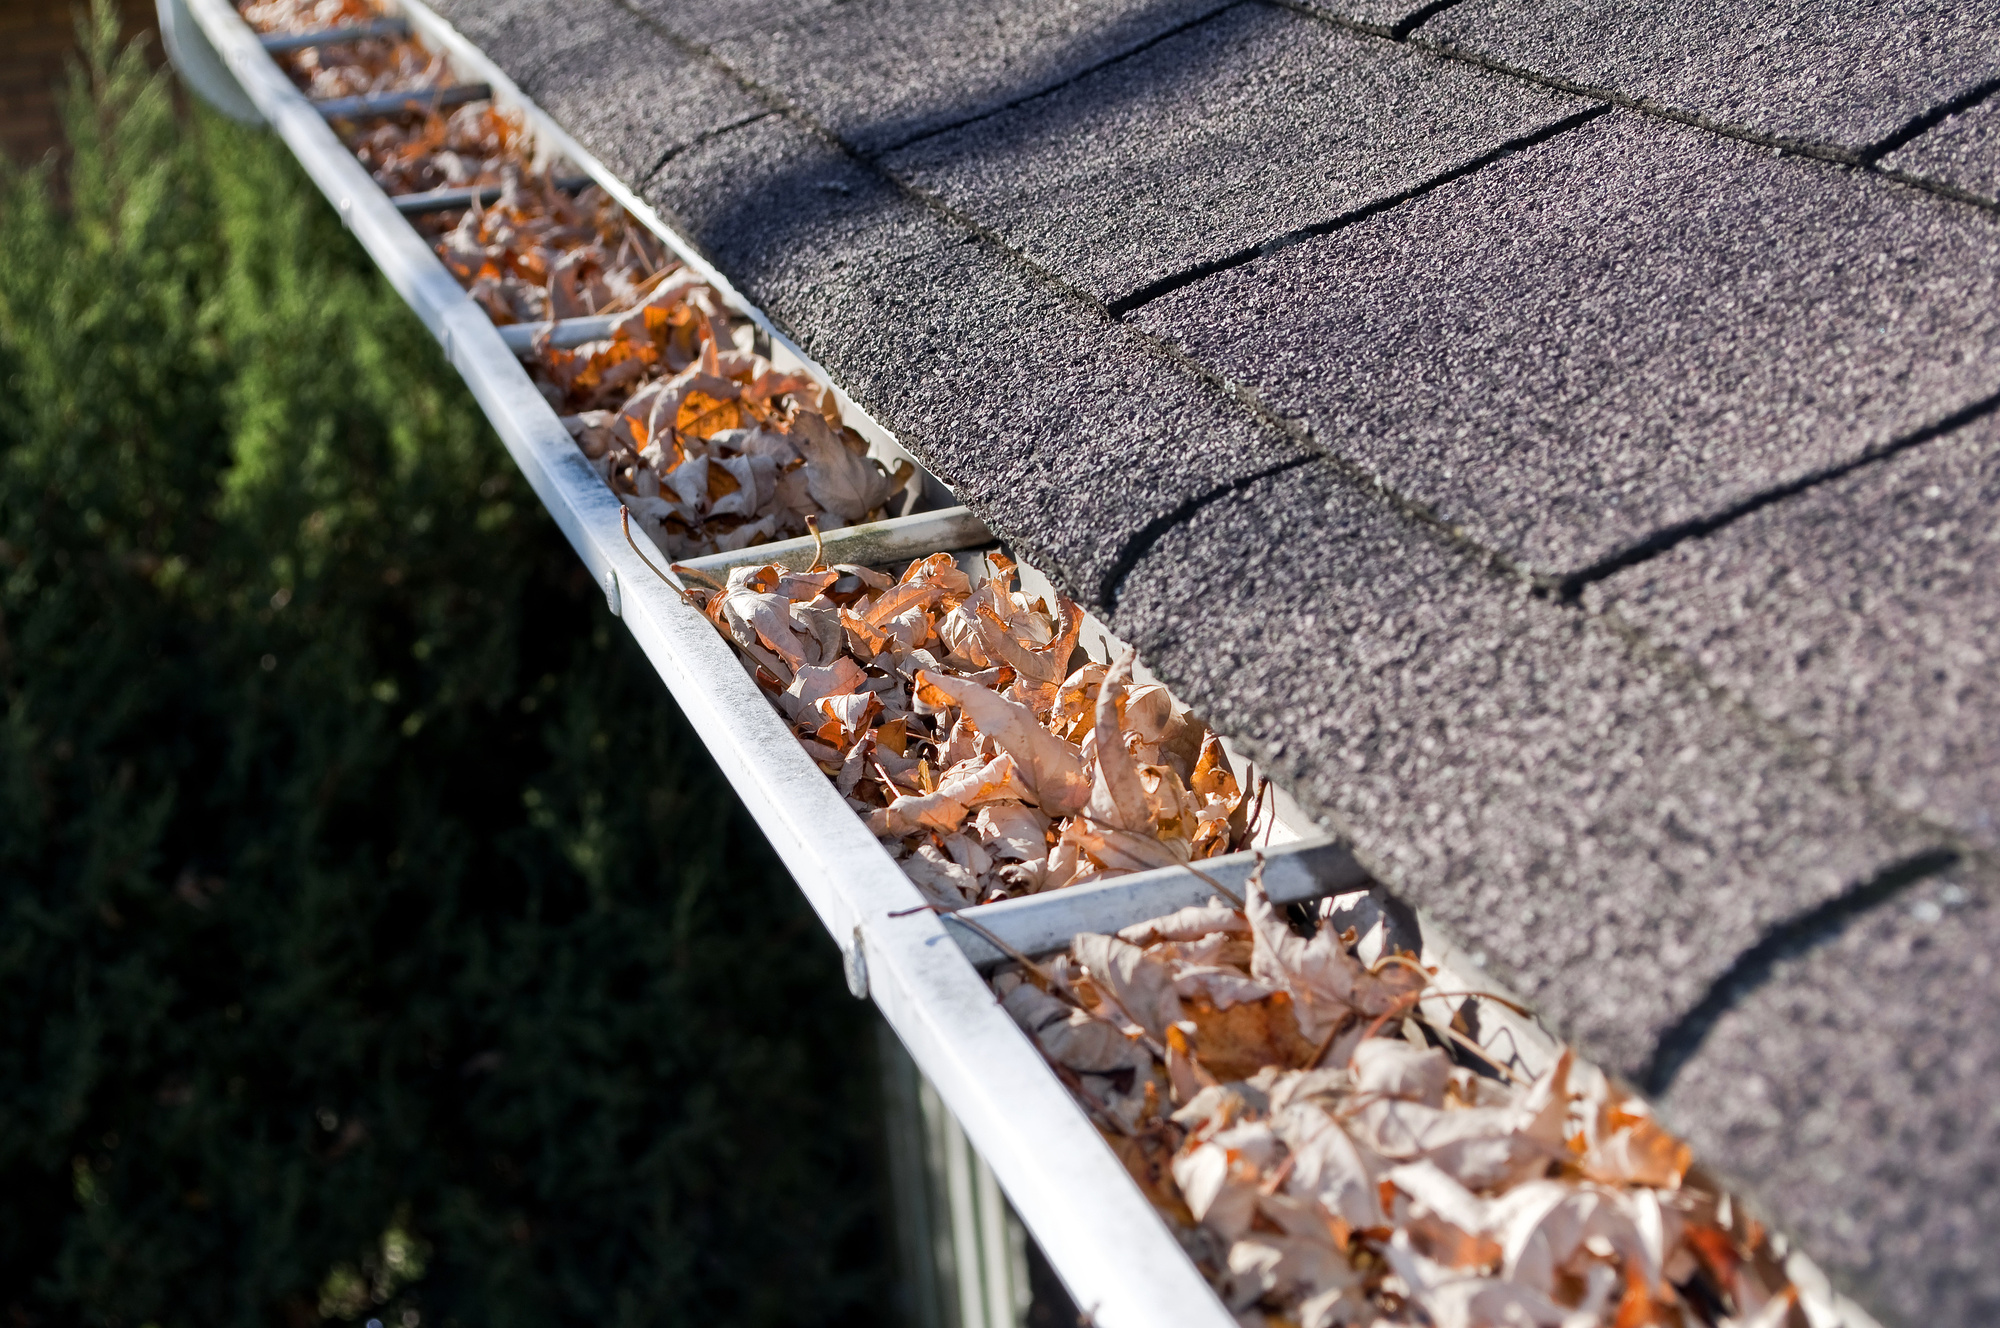
One of the areas you’ll want to familiarize yourself with is how often your gutters need to be cleaned. Maintaining your gutters prevents problems from occurring with your roof. When your gutters aren’t cleaned regularly, water collects within pockets in your roof and slowly eats away at a previously healthy service.
By doing this twice per year, you give your roof and home the best chance to not gather excess water that causes you to need to be informed in regards to roofing companies. This saves you money as well as protects your home from major damage taking place.
When to Clean a Gutter
Your gutters need to be cleaned one or two times per year. Most homeowners find that once in the summer and once in the spring is the right amount of times to clean your gutters. This takes care of all of the leaves and pollen left behind by tumultuous seasons.
Winter and spring are the two times of the year when your gutters fill the easiest. When you clean your gutters in the fall, you prepare them for the heavy bouts of snow that may fall depending on where you live.
How to Clean a Gutter
Remove all of the build-ups you find blocking your gutters with heavy-duty gloves. This loosens up the remaining build-up and makes it so that water can easily drain down from your home.
Be sure that when you clean the build-up out of your gutters, you also check for any cracks or funny stains that may be hiding in your gutters. This will help to keep track of any potential problems that may pop up.
Don’t Forget Cleaning Gutters Is Important
If you’re looking to maintain that home, you will want to put all of the effort possible into it. This includes cleaning gutters and taking care of the upkeep of your home’s drainage system. Be sure to follow these rules when taking care of the gutters on your house.
For more tips when it comes to the upkeep of your home, we’ve got what you’re looking for. Many of our articles are geared toward gutter cleaning and the other areas you may have missed.
 The
The 

 According to a recent poll, more than