When decorating your condominium, it’s important that you keep the total size of your space in mind. If you try to fit too many things in, it won’t be long until you feel like you’re squished in. In order to feel comfortable in a condo, it’s important to decorate it with the correct ratios.
That doesn’t mean that you can’t use a few large pieces of furniture here in there; however, they should be few and far between. A house that’s over crammed with very little floor space starts to feel messy or much faster. Therefore, when creating the interior design of your condo, keep these tips in mind.
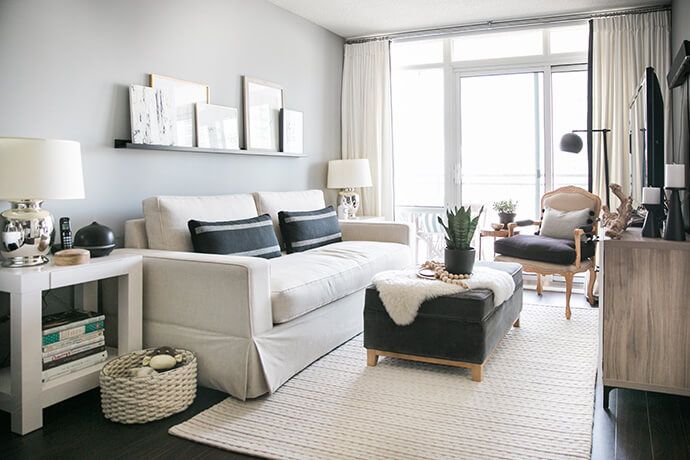
Let In Plenty Of Light
One of the easiest ways to make a space look much larger than it is is to use natural light to your advantage. You can maximize the space that you have by opening all of your windows. Depending on what floor you live in, you may even want to consider adding a skylight.
In addition to natural light, you should also and plenty of lighting inside. Doing so will give the illusion of a much larger space.
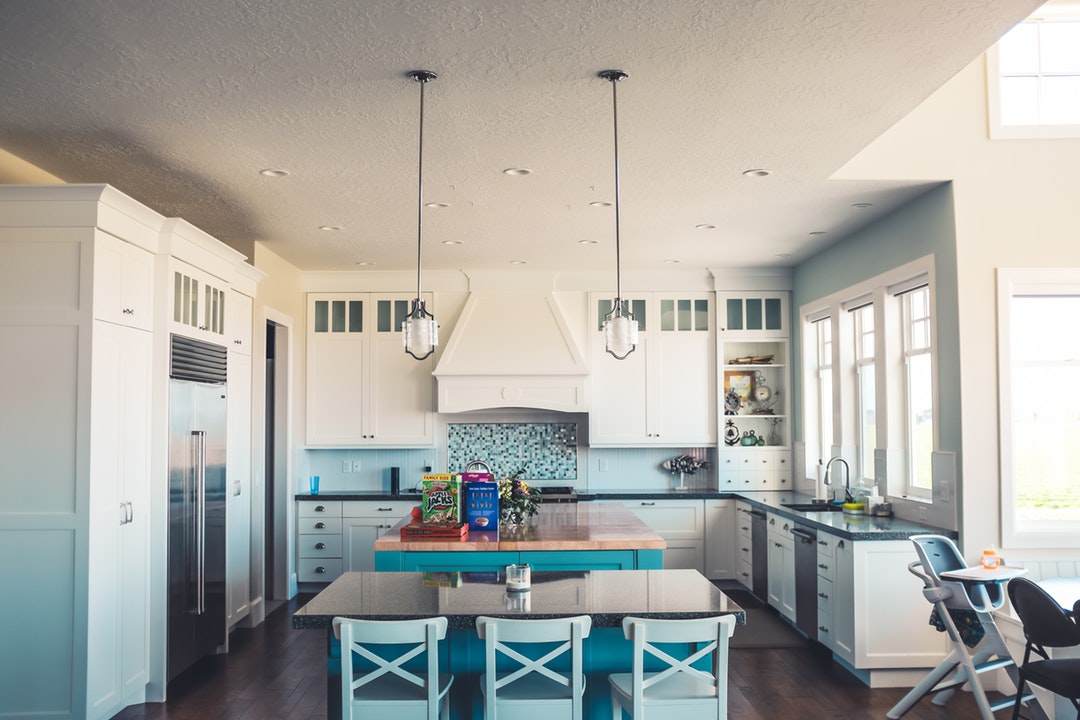
Use Cohesive Colors
When choosing colors for your condo, it’s more pleasing for the eye if you choose colors that are unified. Use a cohesive color pattern and so that your space will flow together as if it’s one single piece of artwork. Get creative with your color palette and use colors that make you feel good. Most interior designers recommend using lighter colors in a condo because darker colors can make your space feel smaller.
If you like bright colors, consider using them on accent walls rather than every single wall. You may even choose to opt for a wallpaper, which can be a bold addition to your home’s design.
Get Creative With Storage
Unfortunately, small condominiums are not known for their plentiful storage space. It’s important to get creative when it comes to creating places to keep your belongings. Find unique places to put shelves and make use of baskets. When possible, buy furniture that can be used as storage as well. For example, consider buying a bed frame that has drawers that pull out for storage space.
Add Plenty Of Plants
When most people think of condos, the first thing that comes to mind is city life. While some people thrive in the cosmopolitan lifestyle, some people feel a lack of nature around them. It helps 2 add plenty of plants to your condo to give it a more natural feel.
Make sure that you place your plants where they receive plenty of sunlight, and don’t forget to water them.