When you’re mapping out your plans for a home, you probably aren’t too worried about the state of your foundation. If you want your plans to stay on track, however, you should be. If your foundation falls by the wayside and starts to crack, then you may have to allocate some of your design budget for necessary repairs.
How, though, can you go about anticipating a leak? If one does form, what kind of repair options do you have on the table?
No need to panic. The local foundation repair professionals working in your area will be able to answer your questions and get your home maintenance plan back on track in little to no time at all.
What Causes a Foundation Leak?
Foundation leaks rarely form out of the blue. While it may seem as though these leaks appear after one significant storm, they’re more often caused by weeks or months of exposure to hydrostatic pressure. This pressure, which is generated by rainwater and groundwater pressing against your home, both erodes your foundation materials and causes your foundation to rapidly change temperature. As the temperature rises and falls, your foundation materials will try to expand and contract accordingly. If this process goes on for too long, your foundation will crack from the stress.
That said, it’s not just hydrostatic pressure that can cause your foundation to crack. If you have large trees in your lawn, their invasive root systems may try to breach the hull of your home.
Signs to Look Out For
More often than not, you’ll be able to first identify a foundation leak by looking to your structural supports. These types of leaks have the biggest impact on your support beams and the piering installed around your foundation at the time of your home’s construction.
The most common signs of a foundation leak that you’ll find inside of your home include:
- Bowing walls
- Shifting floors
- Gaps at the joints of your foundation
- Sticking doors
- Foggy windows
- Water-damaged belongings or furniture
- Mold
Unfortunately, the myths surrounding foundation repair practices prevent many homeowners from seeking out viable waterproofing or repair solutions before a leak can worsen. If you let a foundation leak go for too long, you’ll end up finding its symptoms outside of your home.
A foundation leak that you’ve let fall by the wayside can cause:
- Vertical cracks in your walls
- A cracked chimney
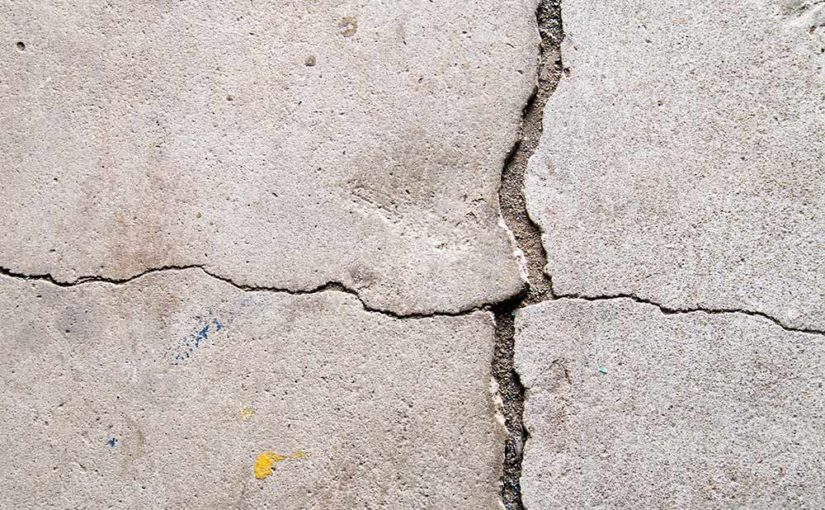
- Cracks running horizontally across your foundation
- Home sinking
Fixing a Foundation Leak
Once you’ve identified a foundation leak, you’re going to want to talk with a local contractor about the repair options you have on the table. Your options are going to vary based on the size of your home, the severity of the damage, and your available budget.
That said, some of the most common foundation repair solutions include:
- Piering
- Underpinning
- Leveling and slabjacking
- Sealing
- Subfloor drainage
Who You Gonna Call?
In this day of do-it-yourself, you may want to try and save a bit of money by fixing your foundation yourself. Unfortunately, the process isn’t as easy as it sounds. Unless you have the certifications stating that you have the education and experience to fix someone’s foundation, it’s often best to leave this work to the professionals.
If you’re concerned about saving money, though, there’s some good news for you. Most foundation repair professionals offer a free foundation inspection and repairs quote. This way, you can better understand what’s going on below your home without having to break into your repair fund.
Don’t let your home design dreams fall by the wayside the next time it rains. Reach out to a local foundation repair professional and get your plans back on track.